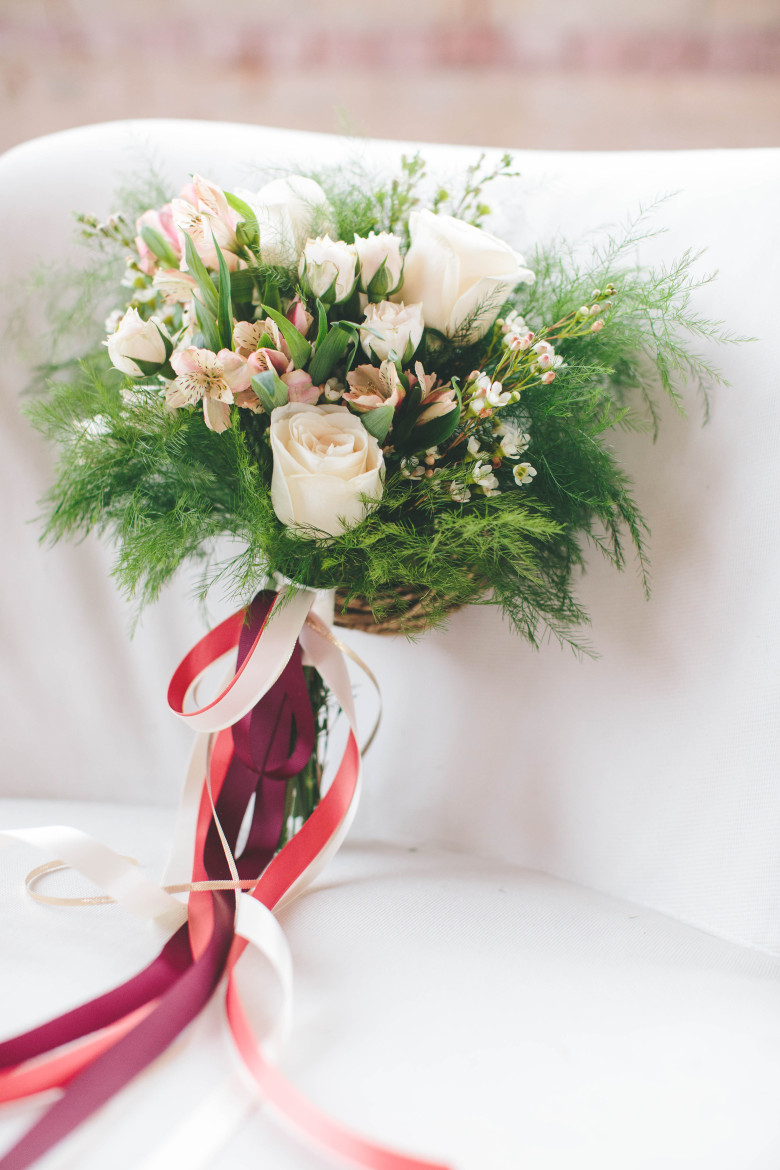


I love the look of big, wild bouquets with lots of oversized flowers and fluffy greenery. But all those big wild bouquets I love so much, also usually come with big fluffy price tags, especially if you’re getting married when flowers like peonies aren’t in season. Like, um, right now. (Hello two dollar sign price tag that just became four dollar signs.) And that’s if you can even get your hands on them. So today we’ve partnered up with Kaci Muller of Damsel Floral in Grand Rapids Michigan on an affordable fall wedding bouquet that has just a little bit of that wildness to it, with a much friendlier price tag attached.
Damsel Floral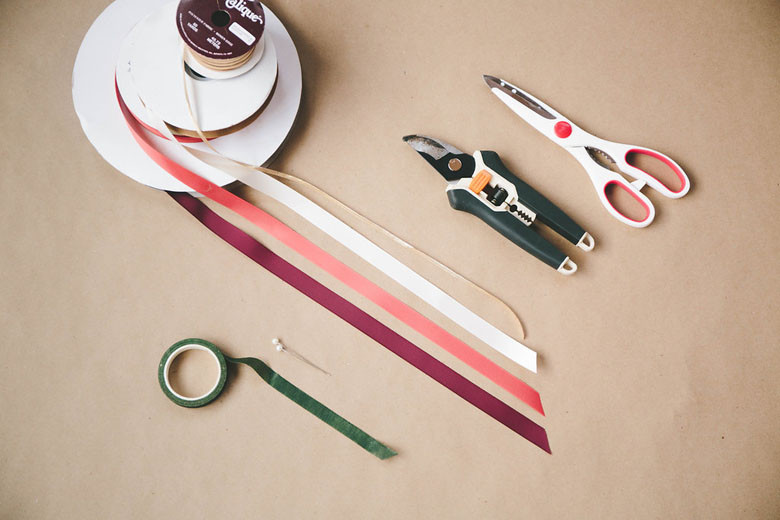
Materials and tools:
Scissors Shears Green floral tape Ivory Burnt Orange Maroon/Marsala pinsFlowers Used:
You’ll want to choose one focal flower and three smaller filler flowers in similar colors along with foliage. Here’s what we used:
Ivory Vendela Rose Tree Fern White Wax Flower Pink or Champagne Alstroemeria White spray roseTotal Price: Under $50, but will vary depending on where you get your flowers and how many you get. This would be a great project if you’re making bouquets for more than one person, or if you’re using these same flowers on other floral projects like centerpieces, because the more flowers you order, the more affordable each individual stem gets. Most online wholesalers have minimum order requirements (though APW sponsor Blooms By The Box is an exception), so if you’re just looking to make a bouquet, you may want to look into getting your flowers locally from a grower or your grocery store or a place like Sam’s Club or Costco.
centerpieces Blooms By The Box Sam’s Club Costco
Directions:
Before getting started, I should note that this bouquet is not your traditionally round bouquet. A lot of the affordability factor comes from the fact that the shape is more sided and oblong, with the back of the bouquet being mostly foliage. Because let’s be real; you only ever see one side of your bouquet anyway. Also, you could easily modify this bouquet to include other kinds of flowers and fillers for a totally different vibe (like swapping out a different kind of fern or using garden roses instead of standard roses). Once you’ve gathered up your materials, here are your next steps:
different kind of fern garden roses1: Start by prepping your stems, making sure to remove thorns and any leaves from the bottom two thirds of your stems.
2: Start to build the bouquet with a loose fan of foliage stems using four to five stems of tree fern, making your stems crisscross with each other at your holding point
3: Add three standard roses as focal flowers. A good rule of thumb to make sure your bouquet looks balanced is to add two flowers right next to each other, then place the third on its own across from the first two. Next add two stems of spray roses on either side of your focal flowers.
4: Add three stems of Alstroemeria in between the rose stems to fill in the holes
5: Add five to six stems of wax flower, again with an eye for filling in any gaps in your bouquet. Then add two additional stems of tree fern to the base of the bouquet, and one more tree fern stem at the back towards the top to soften the edges and fill out the bouquet.
6: Hold your bouquet in front of the mirror the way you would if you were holding it in real life. Adjust the flowers in the arrangement by pushing from the base of the stems until the bouquet feels balanced with a mixture of heights, and all the flowers show up well in the bouquet.
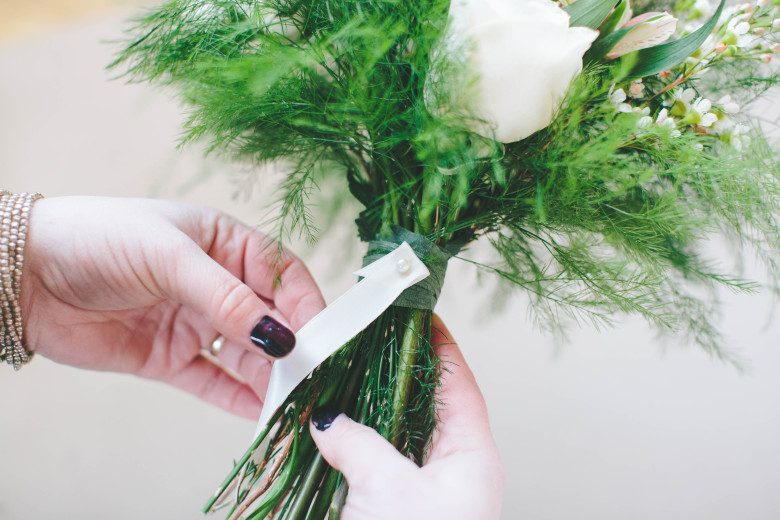
7: Use floral tape to wrap the bouquet stems tightly. There’s no need to wrap the entire handle, just enough to secure the stems. Normally, a wrap of one to two inches does the trick, and exposed stems are on trend, so run with that (it’s easier and cheaper than trying to do a full wrap.) Readjust flowers again as needed if any shifted when wrapping. Decide how tall you want your bouquet and cut off the excess stems.
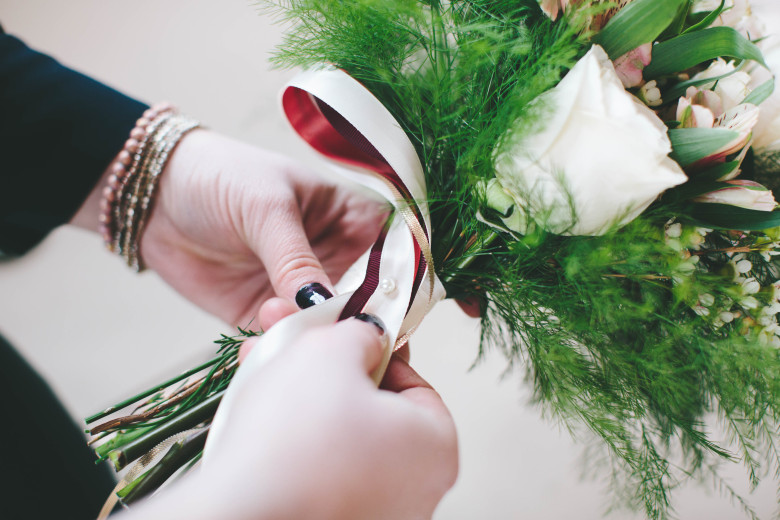
8: Cover the floral tape with satin ribbon. The easiest way to do this is to take a roll of ribbon, fold over the end, then secure the ribbon in place on the back side of the flower bouquet with a pin, like so:
Then, with one continuous piece of ribbon wrap to the bottom the floral tape and then come back up to the top, ending where the first pin was placed.
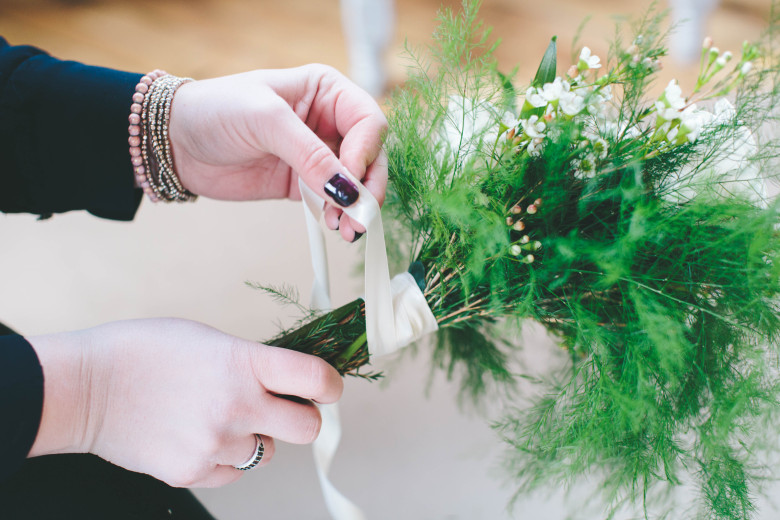
Cut the ribbon from the roll. Fold the edge and fasten it in place with another pin. To make sure your pin doesn’t go anywhere, force it upwards into the bulk of the stems, but be careful not to go all the way through; no one wants to be poked by an exposed pin. It should look like this when you’re done:

10: To make the ribbon tails, you’ll want to cut and measure three long pieces of ribbon (about five to six feet long). Finish the edges with clean cuts for a uniform look. Lay out the ribbons in the shape of a “u” and secure a pin about five inches below the base of the “u” to connect all the pieces into one tail, like this:
: To make the ribbon tails, you’ll want to cut and measure three long pieces of ribbon (about five to six feet long). Finish the edges with clean cuts for a uniform look. Lay out the ribbons in the shape of a “u” and secure a pin about five inches below the base of the “u” to connect all the pieces into one tail, like this: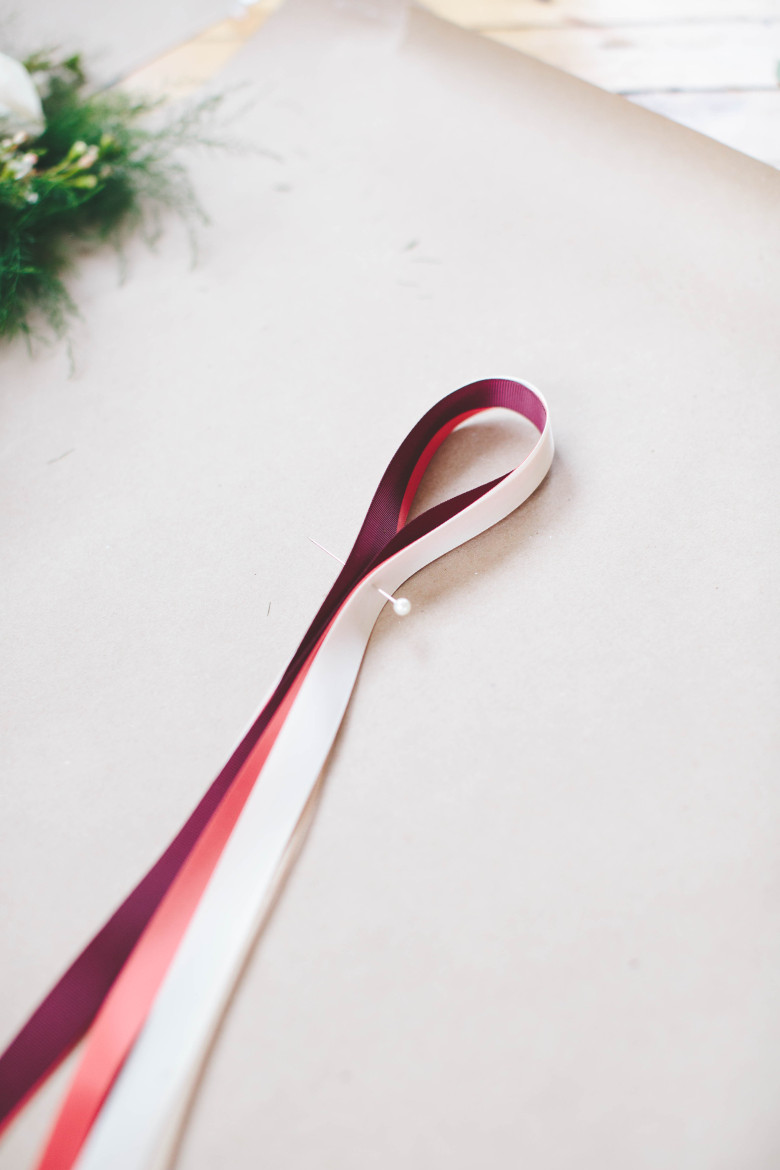
Then secure the ribbon tails to your bouquet using a pin, the same way you did with the first wrap. The fold at the top should hang like a bow when you hold it upright, and the whole thing should look like this when you’re done:
Notes:
You don’t have to attach the ribbon tail right away. If you are assembling your bouquet in a different location from where you’re getting married, it can remain separate form the bouquet until pictures or the ceremony begins. This will allow the bouquet to travel in a vase with water without the ribbon becoming wet or dirty. When you’re ready for pictures, secure the pin in the front of the bouquet.